Performing a peg-out using Metamask Wallet

Performing a peg-out transaction using MetaMask
Step 1: Select conversion type
To perform a peg-out, open the PowPeg App - Testnet in your browser.
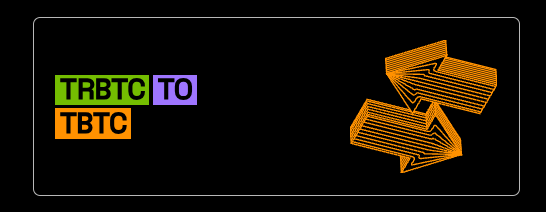
Step 2: Choose the RBTC - BTC conversion type
Step 3: Connect your MetaMask wallet
Click on 'Connect wallet' and then select 'MetaMask'.
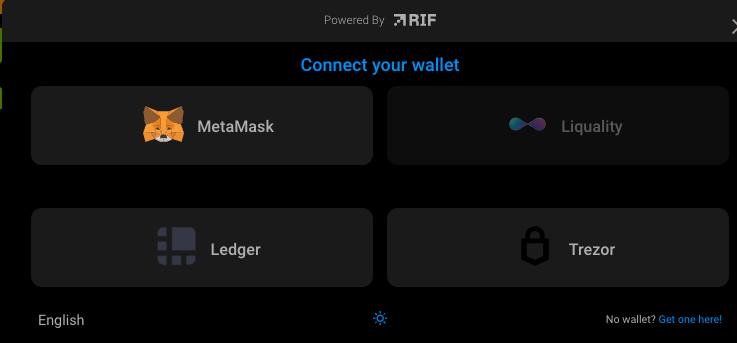
If your wallet is locked, see images below for steps on how to unlock it.
And then click 'Confirm' to complete the first step.
Step 4: Enter an amount
Enter the amount you want to send. You can either enter it manually, or click 'Use max available balance' if you want to send all the RBTC you have.

Step 5 (Opttional) : Verify your Bitcoin destination address
Click 'Get Bitcoin destination address'. Click 'Generate' first in PowPeg App and then in MetaMask.

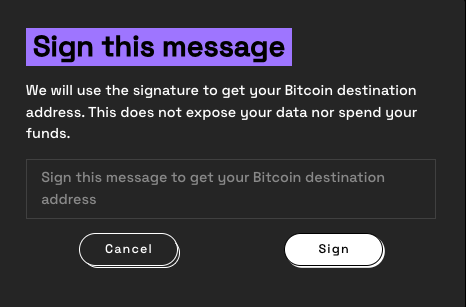
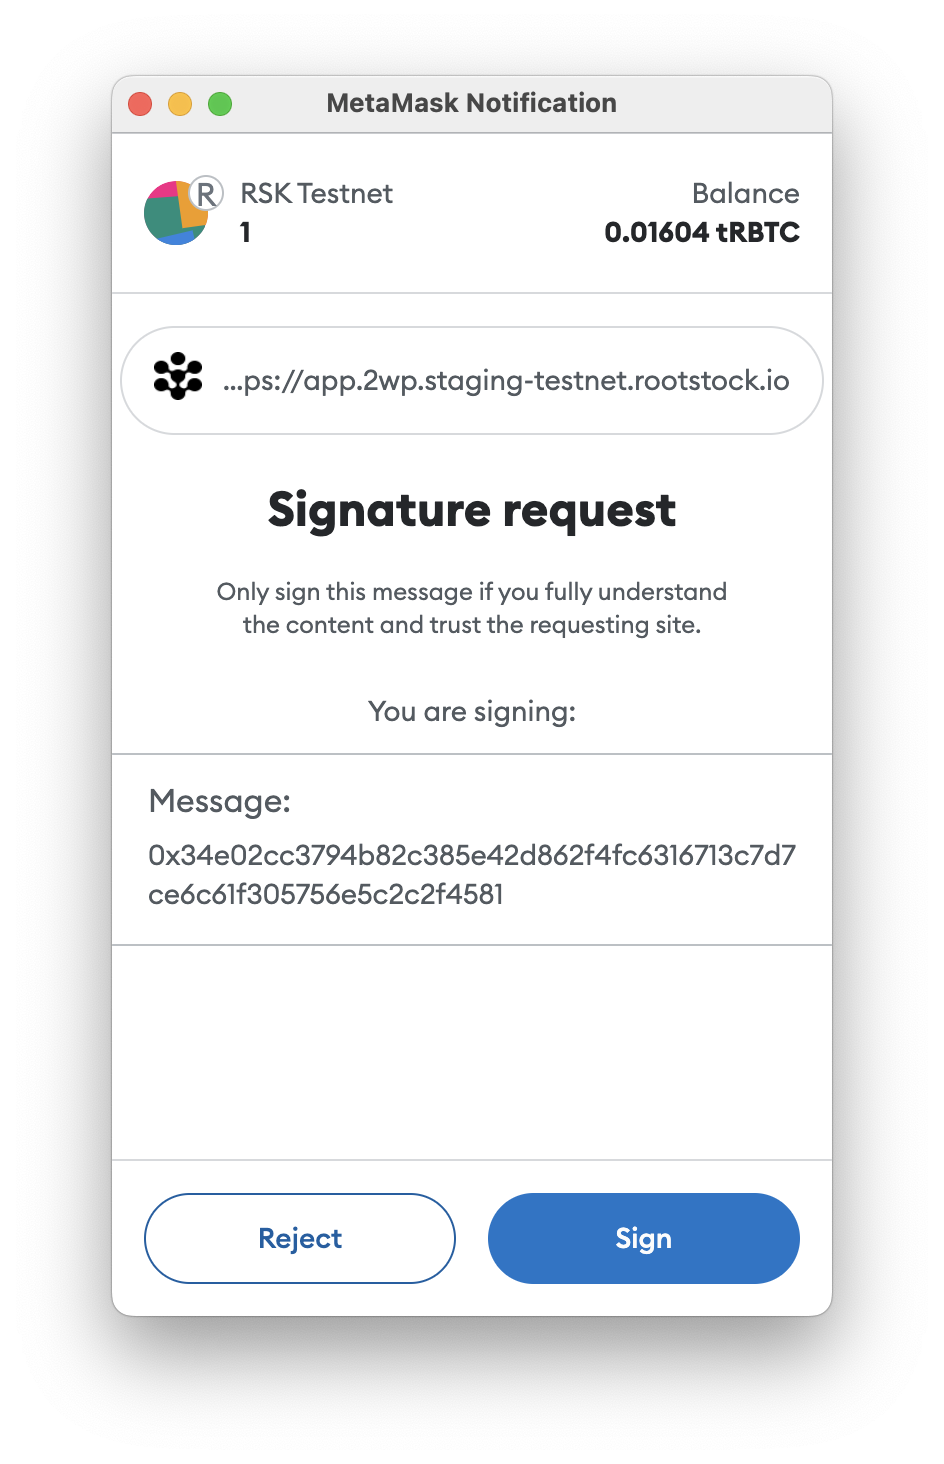
After signing, you will be able to know the derived Bitcoin address where you will receive funds.

For more details on derived addresses. See the advanced operations section.
Step 6: Send transaction
Confirm the information, click 'Send' in PowPeg App and then click 'Confirm' in MetaMask.

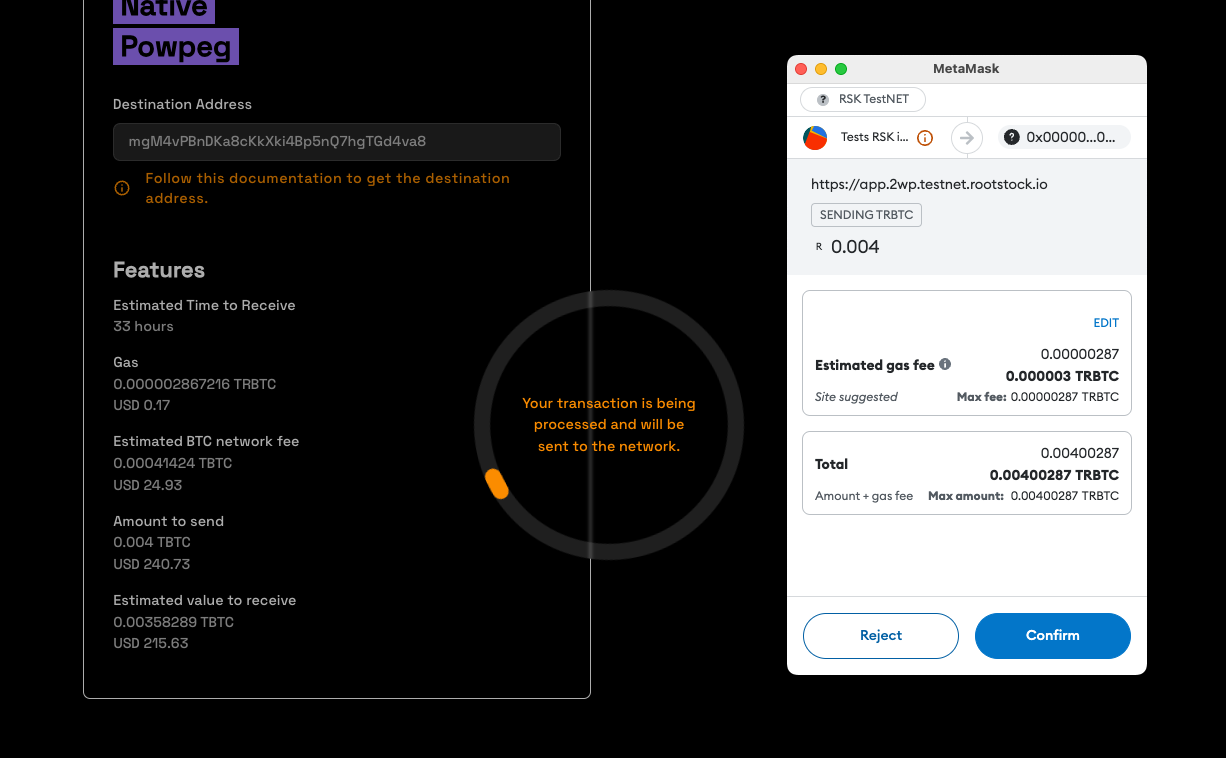
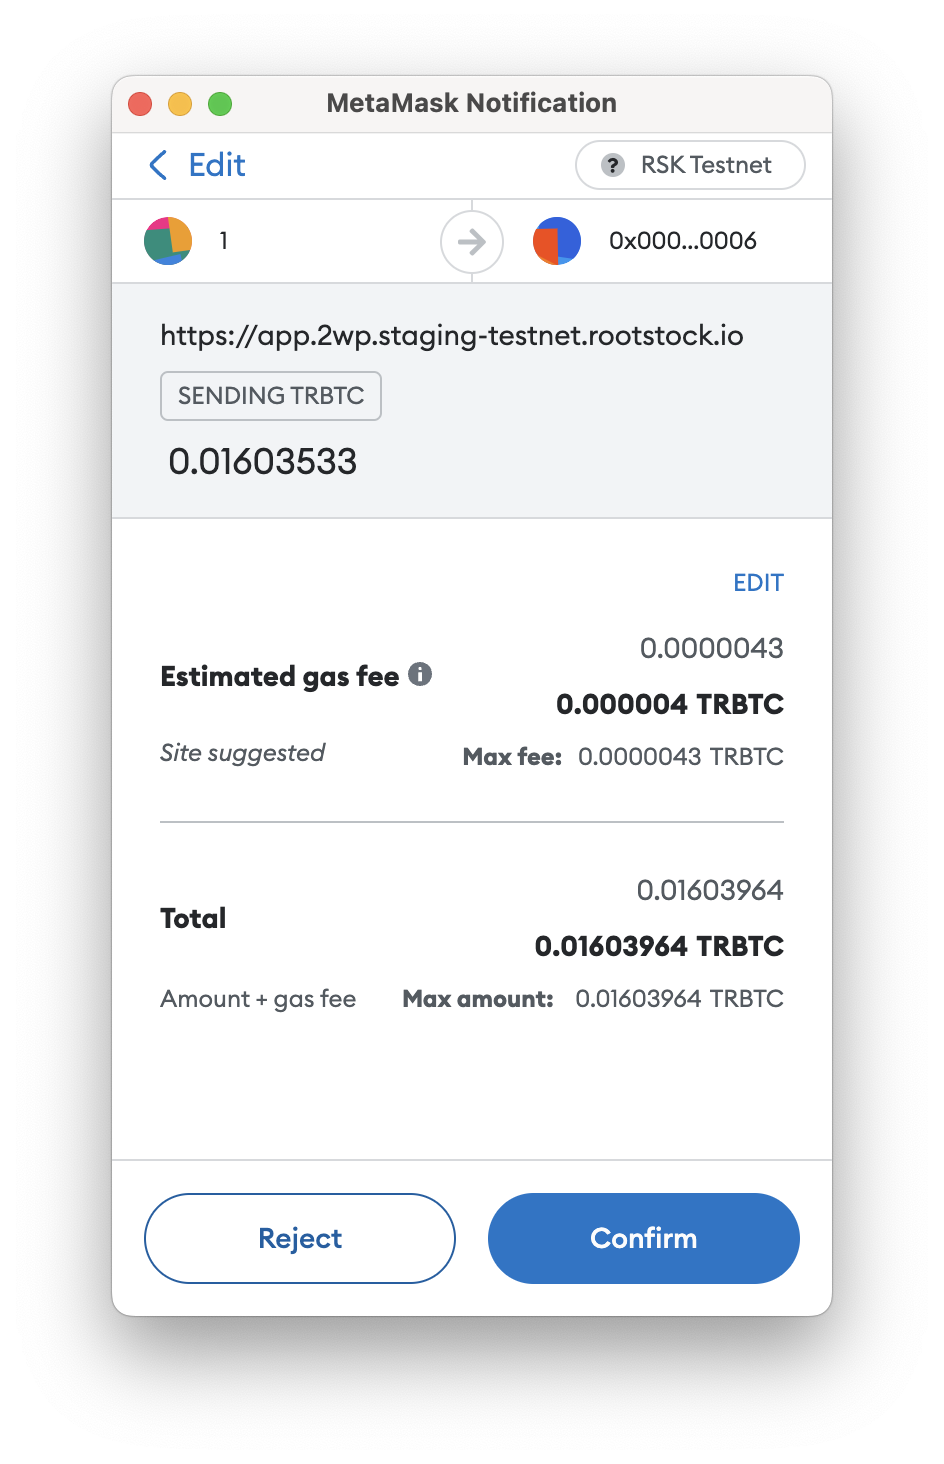
See final screen as shown in the image below;
See final screen as shown in the image below;

By clicking on the See Transaction button, the user can check the status directly in the transaction status page, by clicking in Start Again button the user can perform another transaction.
See the Viewing Peg-out Transaction Status section for more information.
